During the implementation and testing of the raytracer from project3, I was often discouraged from building custom scenes because the iteration loop was very long. It involved editing the scene file -> rendering the scene repeatedly and it was often easy to place spheres and manipulate the camera incorrectly. The main goal of this project was to make it easier to build interesting scenes for the raytracer that we built in project3.
To achieve this goal, I set out to use OpenGl along with SDL3 to create a tighter iteration loop for scene creation. This would require GUI components to manipulate object properties like material type, and location, along with light properties like emmision intensity and direction. As I’ve explained before, I’m not a big fan of C++, so I wrote this project in Zig.
Since, I’ve already written the project4 application in Zig using OpenGL and SDL3 so I thought it would be a pretty easy port over to this project. However, that did not turn out to be the case. It turns out that linking against a UI package was a bit harder than I thought. Previously, in project 4, I linked OpenGL and SDL through seperate existing Zig repackages. I probably could have figured out how to link the Dear ImGui library along with that too, but that would have taken a lot of time. I ended up using this Zig package which already set up the ImGui package along with OpenGL and SDL3 for me.
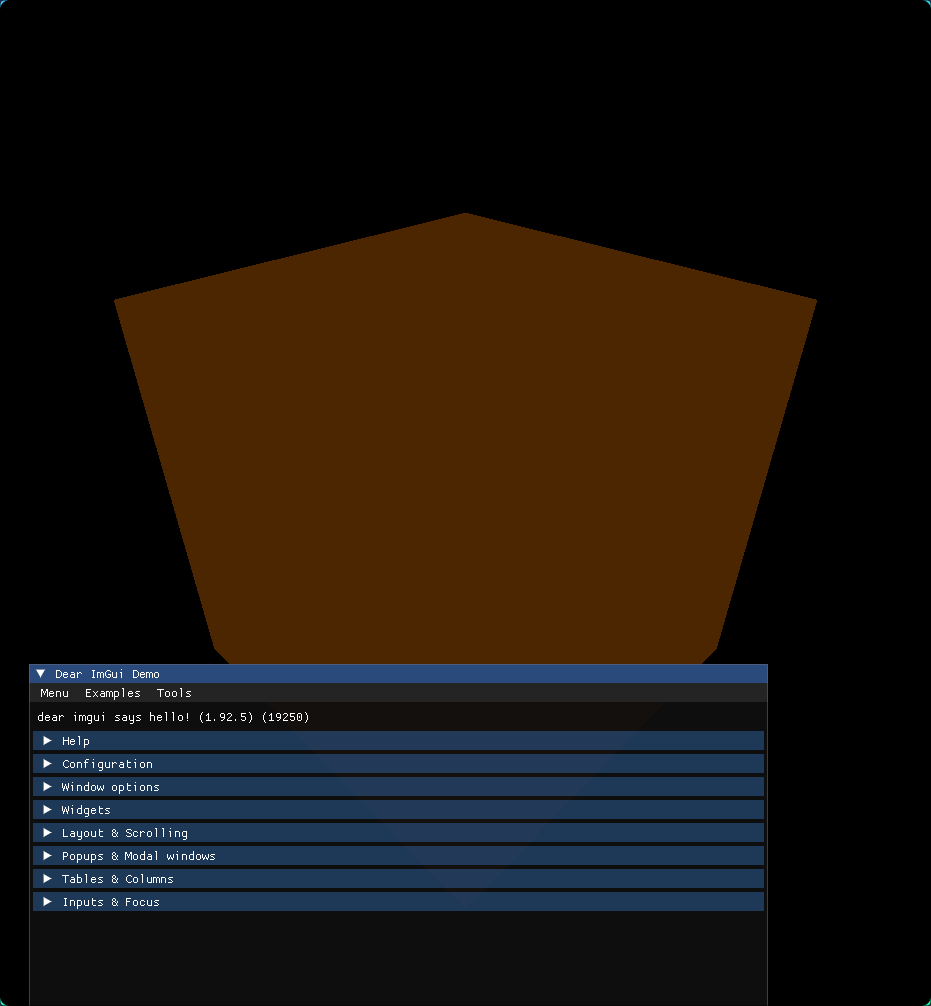
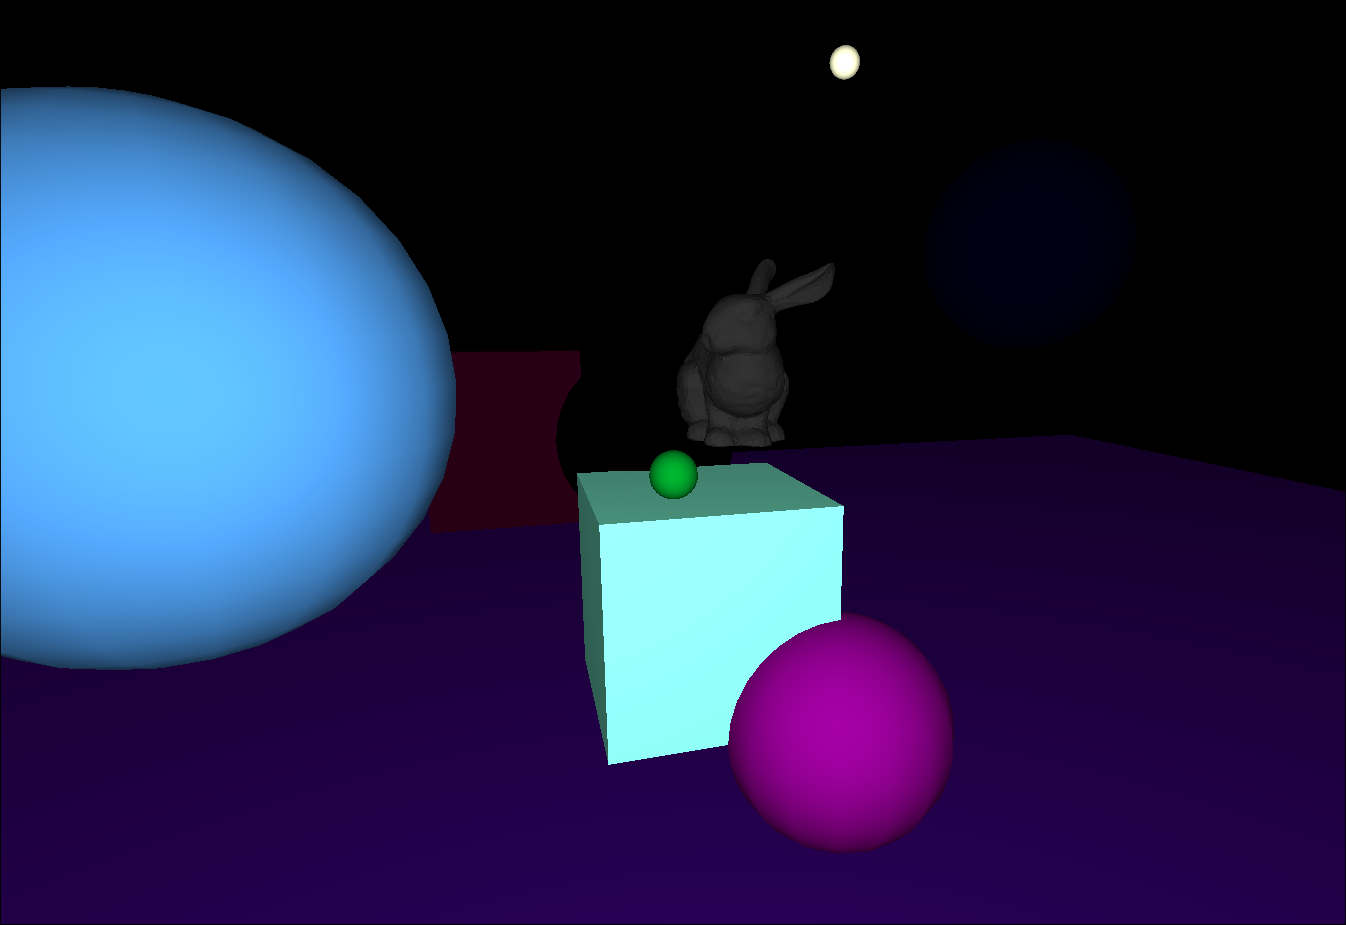
As for the implementation, it was all fairly straight forward. Once I got the example script to compile from the Zig ImGui library, I started trying to render a simple scene of a cube, with the ImGui Demo Window on top.
From here I added camera controls like orbiting, panning, and zooming.
Then I worked on adding custom ImGui Windows. I knew I wanted something similar to unity, where you can select the different objects in the scene then modify their properties. My first iteration looked like this:
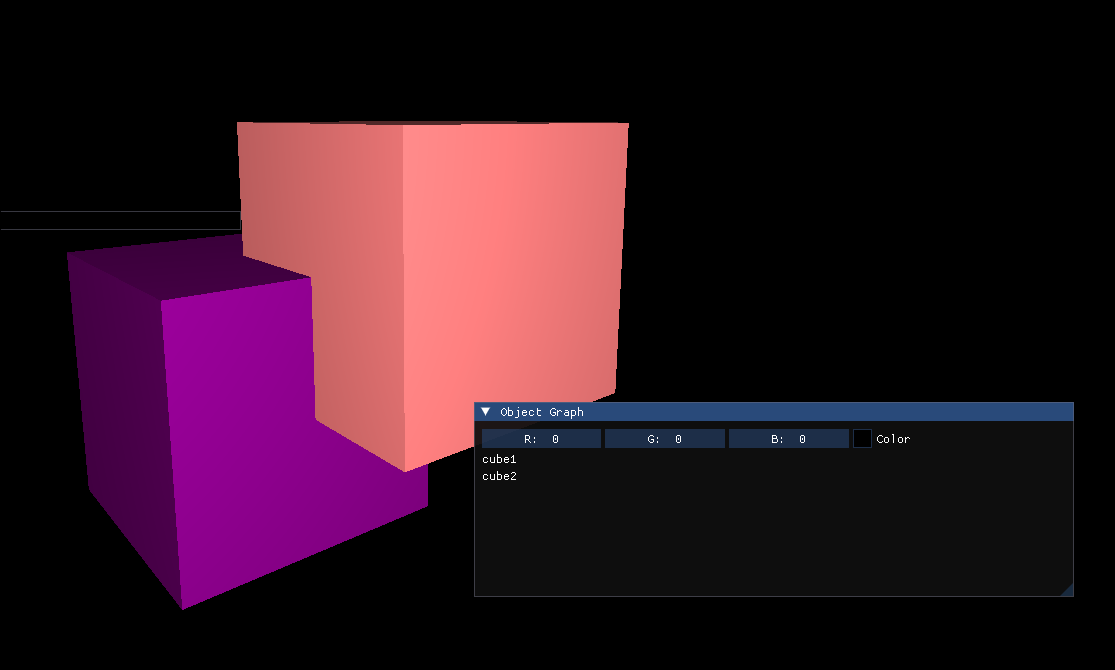
The user can select their objects and change their color. Then I wanted users to be able to import their own mesh objects. I couldn’t find a file picker implementation using ImGui that didn’t require linking a new library, so I created my own. The open button recursively searches the users current working directory for any files with a .obj extension.
One implementation challenge I faced was the abstraction of the scene environment. It took some time for me to realize that there should not be a one->one relationship from mesh to object but instead a one->many. This led to the key idea that I needed to seperate mesh creation from object creation.
Here’s what my final scene struct implementation looks like:
pub const Scene = struct {
    camera: Camera = Camera{
        .center = Vec3.one,
        .target = Vec3.zero,
    },
    meshes: std.ArrayList(CpuMesh) = .empty,
    materials: std.MultiArrayList(Material) = .empty,

    objects: std.MultiArrayList(Object) = .empty,
    lights: std.ArrayList(Light) = .empty,

}
To add a mesh to the scene we simply add a CpuMesh to the meshes ArrayList and when we create a new object, we append it to the objects ArrayList. Each Object simply holds an index into the mesh and Material ArrayList, along with its location, scale, and rotation in XYZ space. These mesh indexes also map to a corresponding GPUMesh on the GPU.
pub const GPUMesh = struct {
    vao: c_uint,
    vbo: c_uint,
    vertex_count: usize,
};

pub const SceneRenderer = struct {
    meshes: std.ArrayList(GPUMesh) = .empty,
    program: c_uint,
}
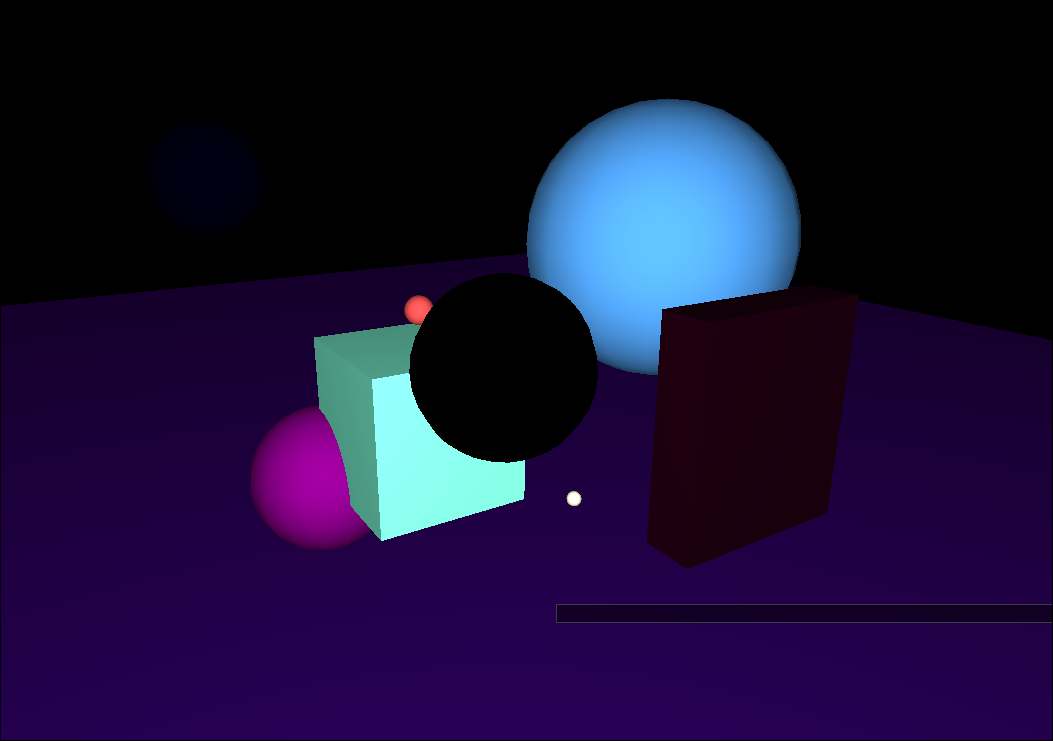
Now the user can add arbitrary .obj meshes, add objects by mesh type, and customize their material properties. Here’s what that process looks like:
These scenes cant then be exported into the file format from project3.
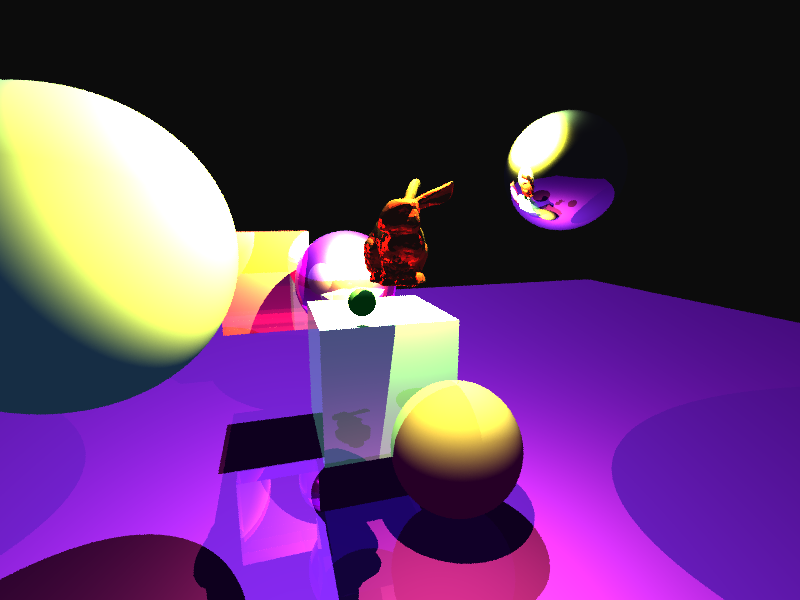
Example Render
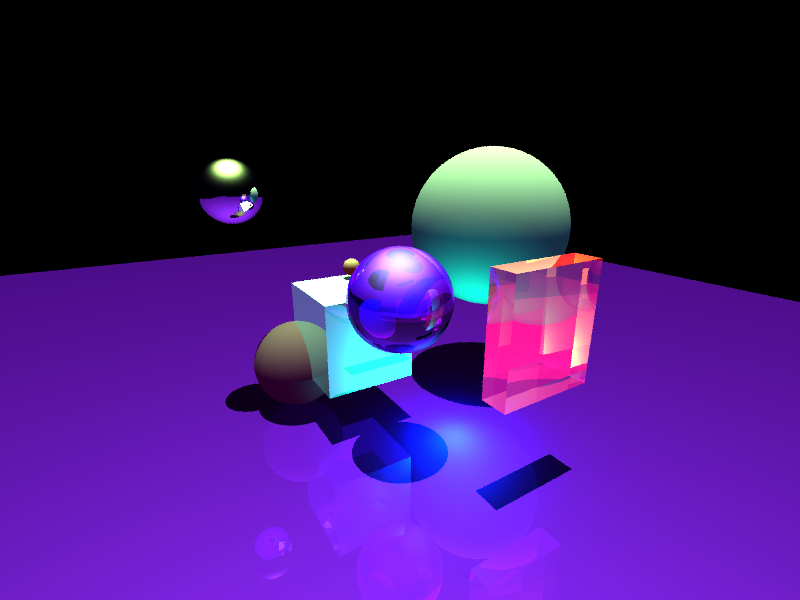
Unfortunately, even with a BVH, my raytracer is horrendously slow for scenes with complex models. As a result, I was only able to render 1 scene with the bunny model.
Connections to Computer Graphics
This project connects to various aspects of computer graphics. For one it uses the realtime rendering pipeline provided by OpenGL. In addition, it provides an interface for scene manipulation similar popular 3D engines like Unity, Unreal, Blender and others. It also connects to the raytracer by providing object material manipulation for specularity, diffuse, ambient and more.
Resources Used
I used the Zig programming language version 15.2, along with the Zig package from tiawl for the ImGui library. The majority of the code is written by human hands, however I did find AI to be useful for pointing me towards ImGui widgets and functions that I was not aware of. AI is extremely bad at staying up to date with all the changes of Zig so it was no help there.
Future Work
There are many directions I could take this in the future. To begin, the lights placed around the scene could provide actual illumination inside interactive scene. The rayracer itself could be parallelized using the GPU, and a live view of the progress could be displayed to the user. Additionally, object selection could be improved by using a simple raycasting shader to select objects via the viewport instead of only from the Object menu. Finally, gizmos could be introduced to move objects interactivly instead of only through the object editor
Code
The code requires zig version 0.15.1 or greater and can be compiled with zig build. Then the executable can be run with ./zig-out/bin/finalproject
It also contains prebuilt binaries for windows and linux in the zig-out/bin folder. Although it has only been testind on linux.